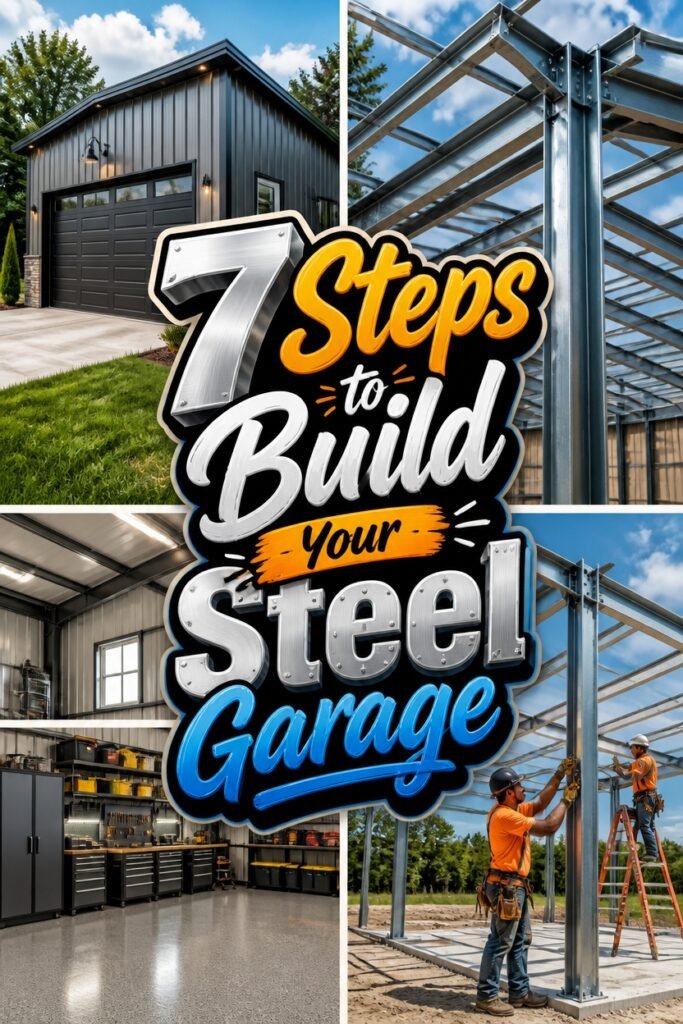
Building a steel garage is one of those projects that feels intimidating until you break it down. Suddenly, seven clear steps stand between you and a solid, lasting structure on your property.
The process starts with the essentials: sizing up your space, setting a realistic budget, and getting the paperwork sorted.
From there, you prep the site, pour the foundation, and choose a kit that fits your needs.
The final stretch involves assembly, weatherproofing, and adding those finishing touches that make it truly yours.
Each phase matters, and small oversights early on tend to show up later.
Take your time, follow the sequence, and you will end up with a garage that works as hard as you do.
Step 1: Define Your Garage Size, Budget, and Purpose-Then Secure Permits
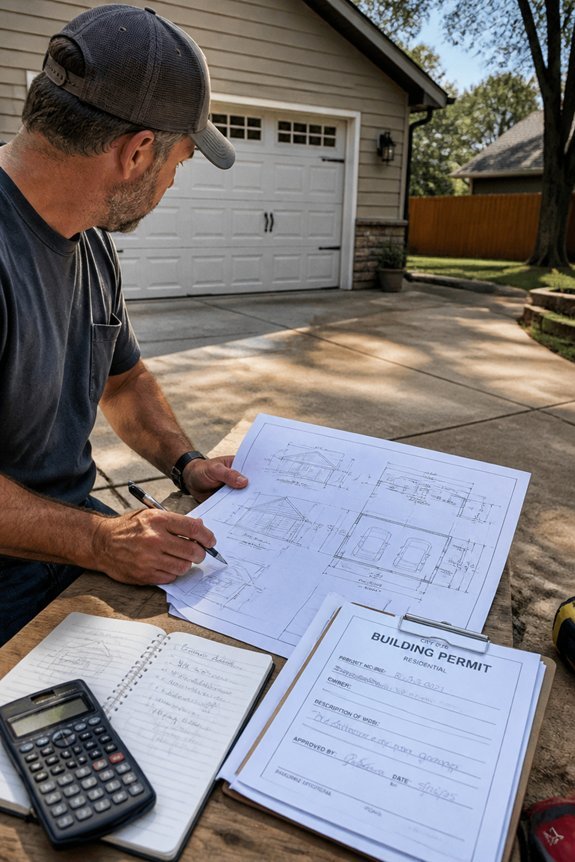
Foundation matters when building a steel garage. Start by deciding on size, budget, and purpose.
A single-car garage usually measures 12 by 20 feet. Two-car garages run 20 by 20 feet or larger.
Budget for materials, labor, and permits. Most steel structures range from $3,000 to $15,000, depending on size and features.
How you plan to use the space shapes the design. Storage-only buildings need basic construction. Workshops require electrical outlets, ventilation, and reinforced flooring.
—
Once you’ve set your parameters, secure your building permits. Requirements vary by location. You’ll typically submit plans, pay fees, and schedule inspections.
Permits ensure your project meets zoning laws, safety codes, and structural standards. Skip this step and you risk fines, headaches when selling your property, and denied insurance claims.
Step 2: Clear Your Site and Pour the Foundation
With permits approved, the builder can now prepare the site. Clearing vegetation, rocks, and debris comes first. Excavation equipment strips away topsoil to reach stable ground below.
The foundation choice depends on your climate and soil. Concrete slabs suit most regions with gravel underneath for drainage. Cold climates need deeper footings, typically 3-4 feet below grade to beat the frost line. String and stakes mark out the garage perimeter.
Concrete contractors pour the slab or footer system next. Grade the site so water flows away from the structure. The foundation needs time to cure before framing starts. Expect 7-14 days depending on weather and concrete mix. This stage sets up everything that follows.
Step 3: Select a Steel Kit That Fits Your Project and Climate
Start With Purpose
What will your garage actually do? Vehicle storage needs different specs than a workshop or equipment shelter. Single-car kits use lighter frames. Multi-car and commercial builds need stronger materials and bigger dimensions.
Factor In Your Climate****
Your local weather shapes every choice. Heavy snow regions need steep roof pitches and reinforced trusses. Coastal areas with salt air call for galvanized or painted finishes. High-wind zones require extra bracing and tougher connection points.
Check Regional Specs
Most manufacturers build kits for specific climates. These regional options already address your environmental challenges. Compare suppliers carefully. This ensures your kit meets local codes and handles your weather year after year.
Balance Your Budget
Costs vary with size, strength, and finish quality. Prioritize the features your project actually needs. A well-matched kit saves money long-term through durability and lower maintenance.
Step 4: Gather Your Tools and Materials Before Assembly Starts
Tools You’ll Need
Start by gathering your basic hand tools. Wrenches, socket sets, hammers, and screwdrivers in various sizes are all essential. Power tools make the job faster. Consider bringing drills, impact drivers, and circular saws.
Safety comes first. Grab hard hats, work gloves, and safety glasses before you begin.
Materials to Organize
Collect all steel panels, bolts, nuts, and fasteners from your kit. Add sealants, roofing materials, and weatherstripping to keep water and drafts out.
Don’t forget measuring tools. A level, tape measure, and marking supplies help ensure everything lines up correctly.
Staying organized saves time. When tools and materials are easy to reach, you’ll avoid delays and keep your assembly running smoothly.
Step 5: Assemble the Steel Frame and Wall Panels
Lay Out the Base Frame****
Start on a flat, level surface. Position each base component according to the manufacturer’s instructions.
Bolt the perimeter beams together with the specified fasteners. Keep connections tight and square.
Add the Wall Columns****
Attach vertical columns to the base frame at marked intervals. These carry the roof load and must stand perfectly plumb.
Check alignment with a level before fully tightening bolts.
Install Girts and Panels****
Fasten horizontal girts between columns. These reinforce walls and hold the panels.
Secure panels with the recommended fasteners—bolts, screws, or rivets. Overlap them per specifications and seal all gaps against weather. Check measurements often to stay accurate.
Step 6: Roof Your Steel Garage and Seal Against Weather
The wall frame and panels are now secure. Your next focus is the roof structure. It shields the entire interior from rain, snow, and weather damage.
Steel roof panels attach to the frame with bolts and brackets. These panels are typically metal or corrugated materials. Overlap them properly to stop water from seeping through.
Sealants and gaskets fill gaps between panels and connection points. Gutters and downspouts direct water away from the foundation. Ventilation openings let moisture escape and cut down on condensation inside.
Ridge caps seal the peak of the roof. Flashing around vents or skylights blocks leaks. Each piece works together to form a solid, weathertight barrier.
The roof system is now complete. Your steel garage is fully enclosed and protected. It is ready for storage and everyday use.
Step 7: Install Doors, Add Electrical, and Schedule Final Inspection
Door Installation
The garage structure is complete and weathertight. Walls, panels, and roof systems are all in place. Now it’s time for doors.
The builder installs overhead doors, side entry doors, and any personnel access points. Door frames need proper alignment. They must be fastened securely to the steel structure.
Electrical Work
Electrical installation comes next. This includes service panels, circuit breakers, wiring conduits, and outlets. Everything follows local codes.
A licensed electrician should handle this phase. This guarantees compliance and meets safety standards.
Final Inspection
The builder schedules the final inspection with local authorities. Inspectors check structural integrity and roof installation. They also verify door operation, electrical safety, and overall code compliance.
Approval from inspectors allows occupancy. The garage is now ready for use.
Frequently Asked Questions
How Long Does It Typically Take to Build a Steel Garage From Start to Finish?
Building a steel garage typically takes two to four weeks from start to finish. The timeline depends on the structure’s size, weather conditions, site preparation requirements, and whether one hires professional contractors or completes the work independently.
What Is the Average Cost Difference Between Steel and Traditional Wood Garages?
Research indicates steel structures cost approximately 5-15% more upfront than wood. However, steel garages typically offer superior durability and lower maintenance expenses over their lifespan, making them economically competitive long-term investments for property owners.
Can I Modify or Expand My Steel Garage Kit After Initial Construction?
Steel garage kits can be modified and expanded after construction, though the process requires careful planning. Owners should consult structural engineers to guarantee modifications maintain integrity and comply with local building codes.
Do Steel Garages Require Special Maintenance or Rust Prevention Treatments?
Steel garages require minimal maintenance but benefit from periodic inspections and rust prevention treatments. Regular cleaning, protective coatings, and prompt repairs of damaged paint extend longevity and prevent corrosion issues.
Is Professional Help Necessary, or Can I Build a Steel Garage Myself?
Professional assistance is recommended for structural integrity, though experienced DIYers can handle simpler projects. Complex installations involving permits, foundations, and electrical systems typically benefit from expert guidance to guarantee safety and compliance.
Conclusion
Building a steel garage is like assembling a puzzle—each piece must fit precisely for success. Completing all seven steps guarantees a durable, weather-resistant structure that meets building codes. Proper planning, site preparation, frame assembly, roofing, and final inspections create a functional garage. Homeowners who follow this systematic approach avoid costly mistakes, delays, and safety issues. A finished steel garage provides reliable storage, protection, and long-term value for vehicles and equipment.